How to Install Varnish Cache 5.2 for Nginx on CentOS 7. CARA DEDE.
Varnish Cache (also referred to as Varnish) is an open source, high-performance HTTP accelerator designed for speeding up web servers. Varnish is the key software in building a high performance web server.
 |
| Configure Varnish Cache for Nginx on Centos |
In this post, we will show you how to install and use Varnish Cache 5.2 as a cache layer to Nginx HTTP server in CentOS 7. This guide should also work on RHEL7.
Requirements:
- A CentOS 7 server with static IP address
Step 1: Install Nginx Web Server on CentOS 7
Start by installing Nginx HTTP server from the official nginx software repositories using the YUM package manager as follows.
yum -y install http://nginx.org/packages/centos/7/noarch/RPMS/nginx-release-centos-7-0.el7.ngx.noarch.rpm
yum -y install nginx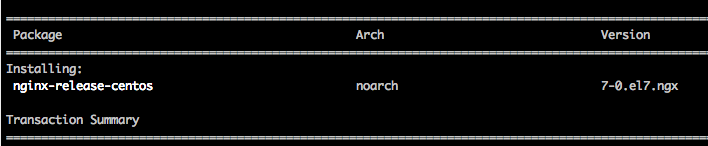

When the installation completes, start Nginx service and enable it to start automatically at system boot:
systemctl start nginx
systemctl enable nginx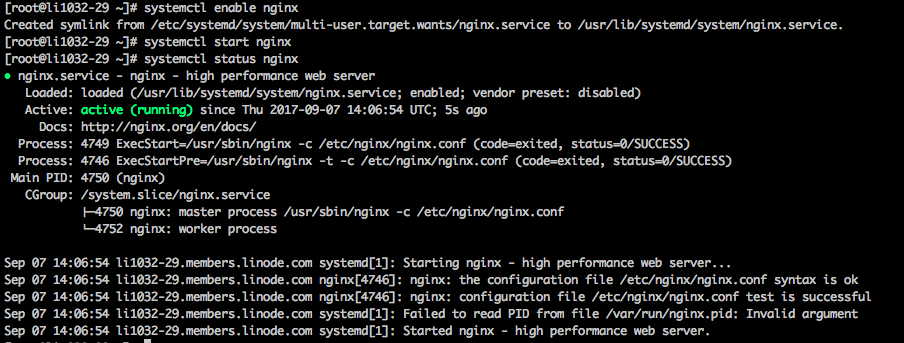
Now modify system firewall rules to permit inbound packets on port 80 using the commands below.
systemctl start firewalld
firewall-cmd --zone=public --permanent --add-service=http
firewall-cmd --reload
Step 2: Install Varnish cache server on CentOS 7
curl -s https://packagecloud.io/install/repositories/varnishcache/varnish52/script.rpm.sh | sudo bash
yum -y install epel-release
yum install varnish
Step 3: Configure Nginx to Work With Varnish Cache
In this step, you need to configure Nginx to work with Varnish Cache. By default Nginx listens on port 80, you need change the default Nginx port to 8080 so it runs behind Varnish caching.
Open the Nginx configuration file
/etc/nginx/conf.d/default.conf and find the line listen 80; and change it to listen 8080;.
Then save and close the file.
With all the necessary configurations in place, restart Nginx services as follows.
systemctl restart nginx
Not edit varnish configuration so that it runs on port 80. Open up
/etc/varnish/varnish.params and change VARNISH_LISTEN_PORT=6081 to VARNISH_LISTEN_PORT=80
Now enable Varnish at boot time and start Varnish daemon:
systemctl enable varnish
systemctl start varnish
Step 4: Test Varnish Cache on Nginx
Finally, test if Varnish cache is enabled and working with the Nginx service using the cURL command below to view the HTTP header.
curl -I http://localhostHTTP/1.1 200 OK
Server: nginx/1.12.1
Date: Wed, 04 Oct 2017 21:22:03 GMT
Content-Type: text/html
Content-Length: 612
Last-Modified: Tue, 11 Jul 2017 13:50:19 GMT
ETag: "5964d79b-264"
X-Varnish: 2
Age: 0
Via: 1.1 varnish (Varnish/5.2)
Accept-Ranges: bytes
Connection: keep-alive
Repeating the above command will show that Varnish cached response (note that
Age header):HTTP/1.1 200 OK
Server: nginx/1.12.1
Date: Wed, 04 Oct 2017 21:22:03 GMT
Content-Type: text/html
Content-Length: 612
Last-Modified: Tue, 11 Jul 2017 13:50:19 GMT
ETag: "5964d79b-264"
X-Varnish: 32770 3
Age: 30
Via: 1.1 varnish (Varnish/5.2)
Accept-Ranges: bytes
Connection: keep-alive
We have done, hope you will find this short tutorial useful in your Varnish learning. Actually on How to Install Varnish Cache 5.2 for Nginx on CentOS 7.
0 Response to "How to Install Varnish Cache 5.2 for Nginx on CentOS 7"
Post a Comment